|
| ||
Materials used:
 Phosban filter
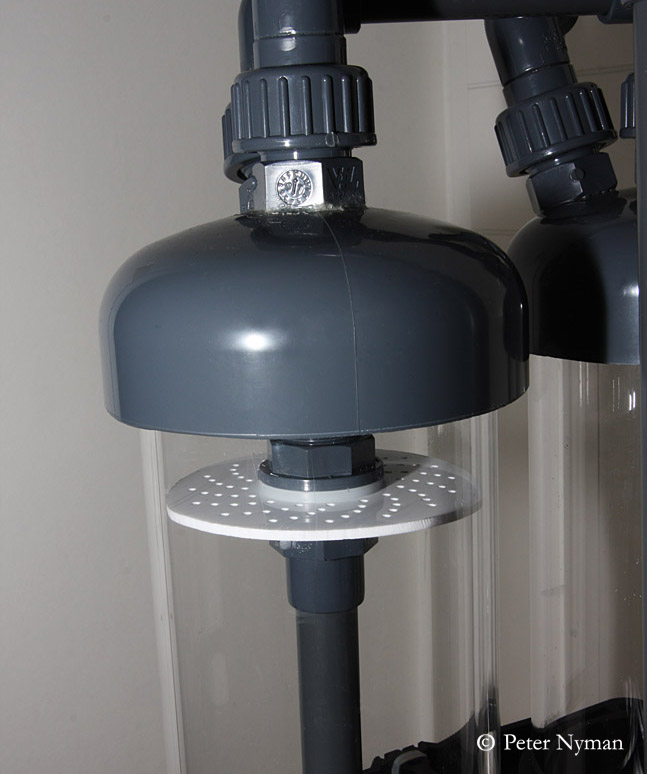
 110mm End caps First remove about 40mm at the ends of the four 110mm end caps. This way the pipes will fit more easily and the reactor will look less bulky.  Inlet & Oulet pieces Fix the inlet and outlet 20mm unions by cutting of the last 5mm of the end of all four unions. For the outlet these parts is saved and can be glued to the pipe again on the inside of the 110mm end cap. You need 2x40mm of the 20mm pipe for the inlets (center) and 2x30mm pipe for the outlets (side).  Drill holes in the 110mm end caps Drill two holes in the two top part 110mm end caps. One hole in the middle and one to the side of the first one. Make sure that the holes are separated enough to fit the two unions in the holes at the same time.  Top of Phosban reactor Glue the unions into the two holes on the top of the 110mm end caps. Also glue the 90° angles onto the unions. Note that the 90° angle in the center that connects the two reactors will need to be shortened a little bit to make a tight fit to the unions.  Sump in progress (2) The four top and bottom plugs are made by 20mm couplings (1). First glue four 30mm long pieces of the 20mm pipe in one side of the couplings (2). Now the two top plugs are finished. The two bottom plugs are drilled to make four 5mm holes for the water (3) and 15mm at the ends are cut off (4).  Plates before drilling the center holes Make the four cirkular 98mm plates out of the acrylic plate. Make alot of holes in them. The plates should just fit inside the 110/100mm transparent acrylic pipes.  Xyz Drill a hole for the tank connector in the middle of the plates. The two center pipes are trimmed to the right length before the tank connectors are glued to them.
 One of the hole plates in place
 Xyz
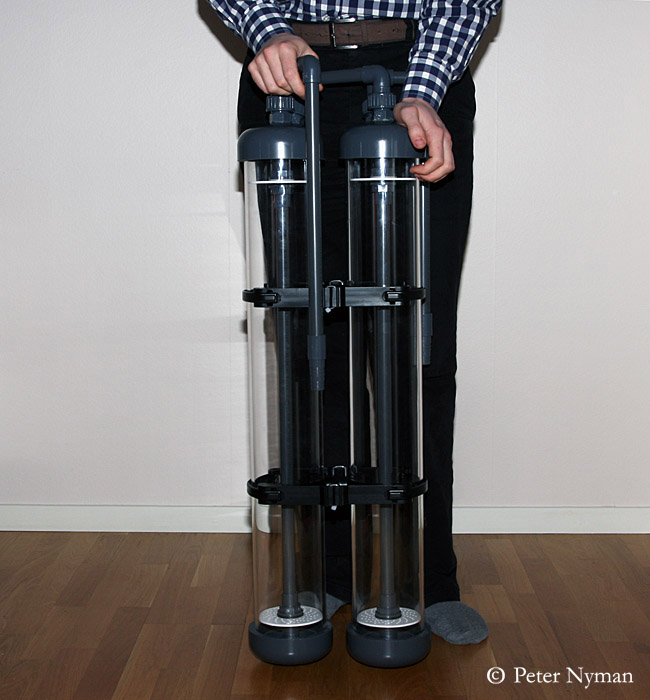
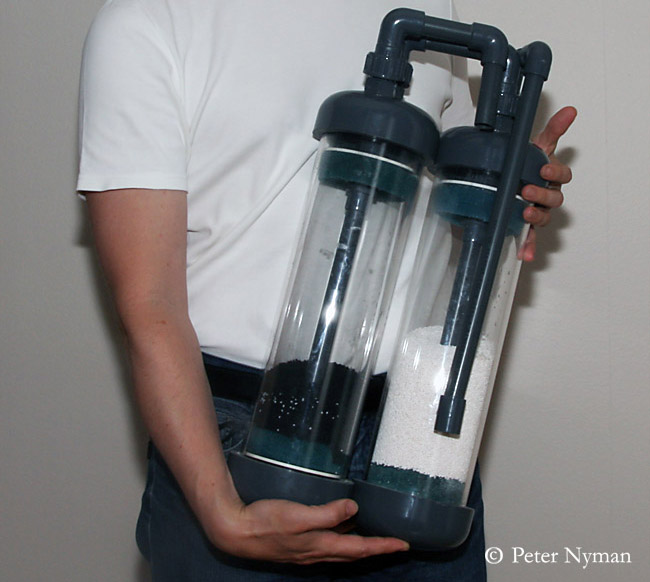
 Finished reactor The reactors are ready for use!
 Modified length Later i shortened the reactors to half the original length. They still holds about two liter of filter media each. | ||
|
|

